Process
From first conversation to finished room.
Twelve clear stages keep ambition, timing and cost moving together — and you can see the idea behind them in the example room below.
Interactive example
Explore the design process in 3D.
Build a living room stage by stage, then change its style, finishes, furniture and light. It is a generic example model made to show how a design develops — not a model of any project on this site.

About 190 KB · mouse, touch and keyboard
07 / 07 Styling
Plants, art and objects make it feel lived in.
A style sets floor, walls and upholstery together. Changing one finish afterwards keeps the rest of the style.
Finishes appear from stage 05.
Light changes never rebuild the room: stage, furniture and finishes stay as you set them.
Keys when the room is focused: ← → stage, + − zoom, R reset view, Space play
Interactive 3D isn’t available in this browser, so here is the same room at every stage.
-
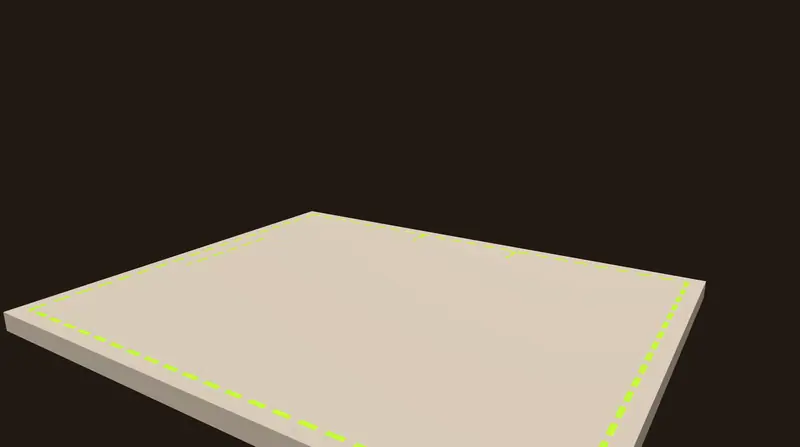
01 Footprint -
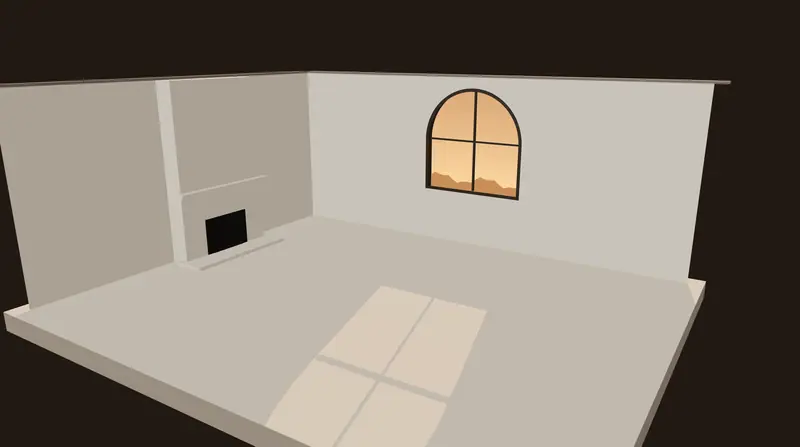
02 Architecture -
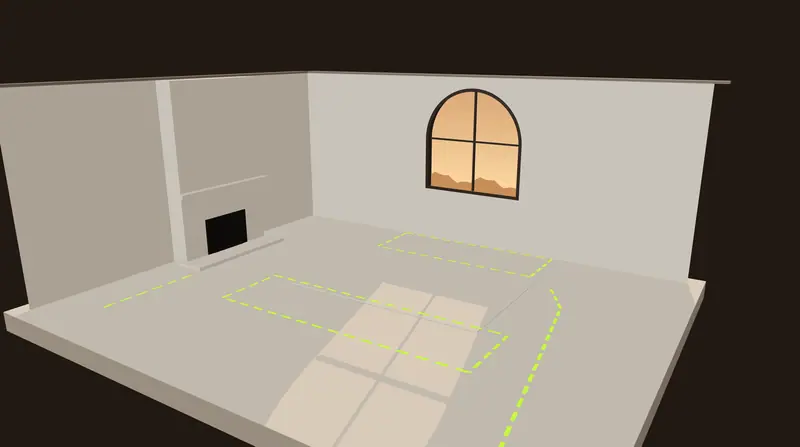
03 Space planning -
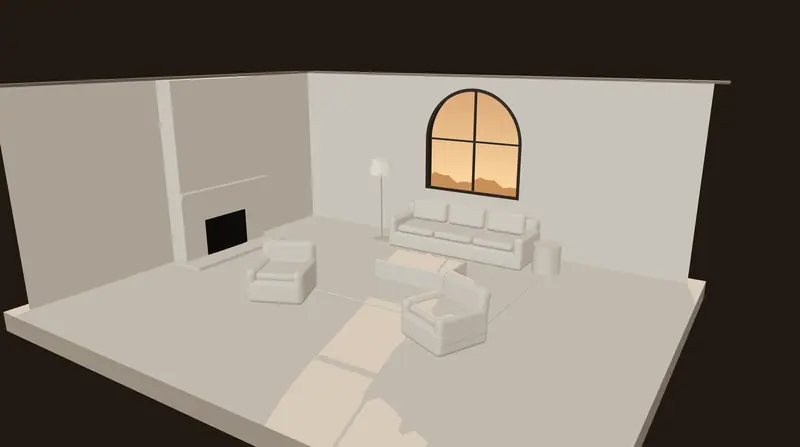
04 Furnishing -
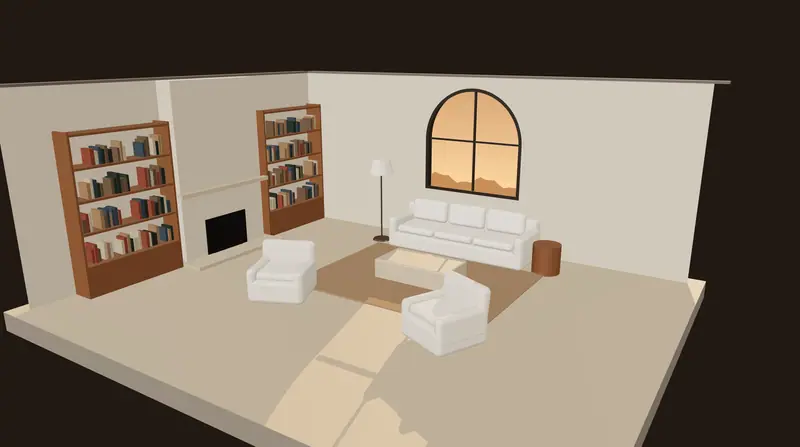
05 Materials & joinery -
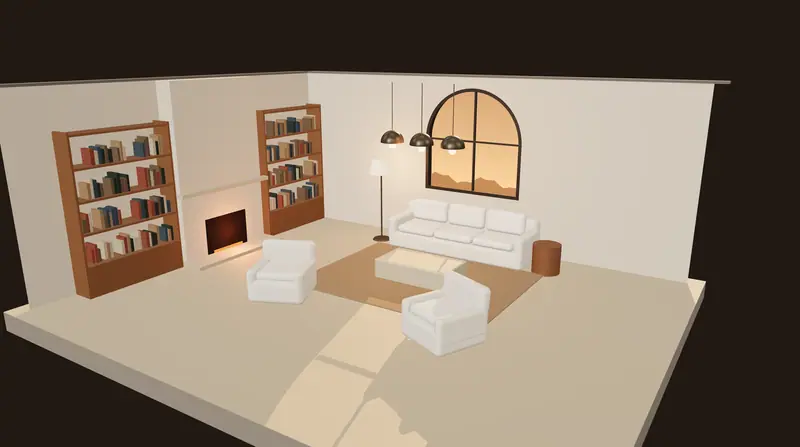
06 Lighting -
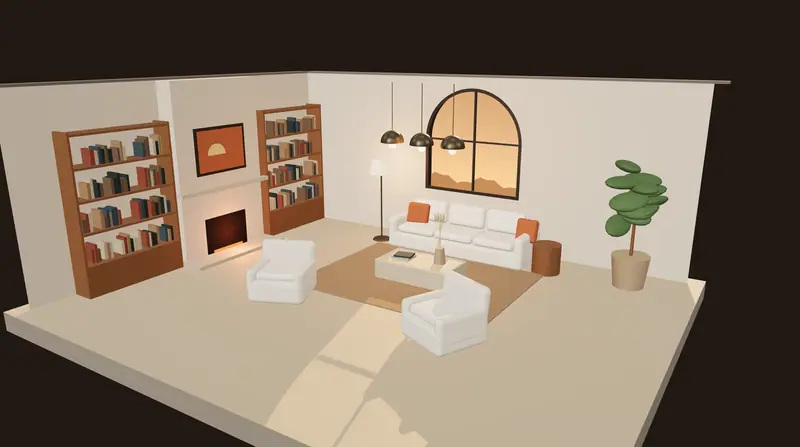
07 Styling


Before / after
Same room, same camera.
The empty shell and the finished interior of the example model, rendered from one fixed viewpoint so the comparison is honest.

How a project runs
Twelve stages, one team.
- 01
First conversation
You tell us about the space, how you use it and what you would like to change.
- 02
Consultation
We agree priorities, scope, budget range and timing, and confirm we are the right studio for it.
- 03
Site visit & survey
We measure, photograph and note the light, services and anything that constrains the design.
- 04
Brief
Everything we have learned becomes a written brief with clear success criteria.
- 05
Concept
Mood, materials and the central idea of the space, presented as drawings, boards and images.
- 06
Space planning
Layouts, circulation and furniture plans are resolved and signed off.
- 07
Visualisation
Key rooms are visualised so you can judge light, scale and finish before committing.
- 08
Materials & finishes
Every finish is sampled and chosen for how it looks, performs and ages.
- 09
Technical drawings
Construction-ready drawings and schedules for contractors and makers.
- 10
Site & delivery
We coordinate contractors, orders and quality on site against the programme.
- 11
Styling
Furniture, art and objects are placed so the rooms feel finished and lived in.
- 12
Handover
A final walk-through, a care guide for every material, and a snag list closed out.
A space of your own